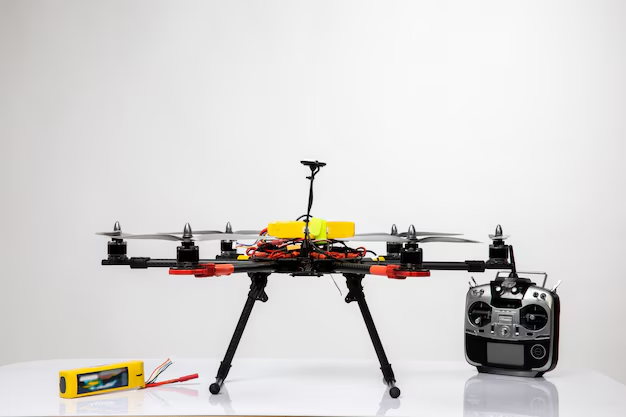
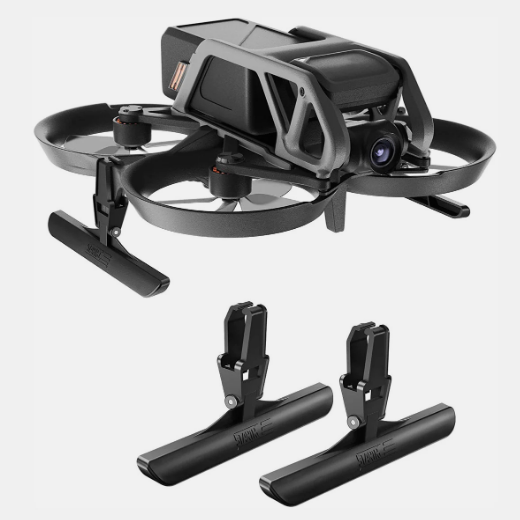
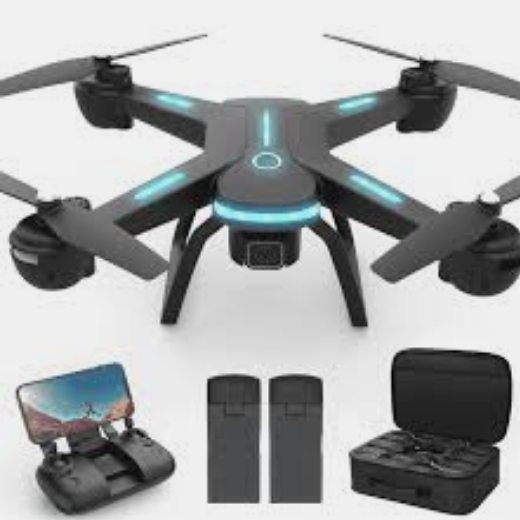
The Sky Viper camera drone is a commonly used and designed for beginner and intermediate drone users. It’s a common choice due to its affordable price, user-friendly features, and decent performance for casual users. In this article, you can find out some replacement parts and where to find them for Sky Viper camera drones, details on how to operate and maintain your drone:
Sky Viper Camera Drone Replacement Parts
1. Propellers– The Wings of Your Sky Viper
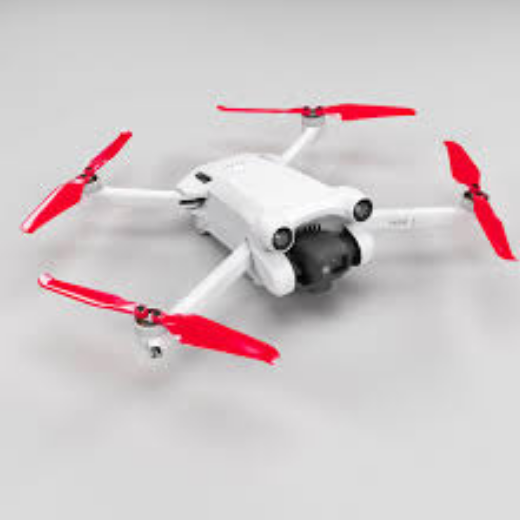
Without propellers, your drone can’t even take off. Replacing them is the easiest way to bring back stability and smooth flight.
Propellers Specifications:
- Material: High-quality plastic
- Quantity: 4 pieces (2 clockwise, 2 counterclockwise)
- Installation: Snap-fit or screw-in design
- Compatibility: Works with various Sky Viper models
Propellers Pros:
- Lightweight design for better flight efficiency
- Easy to install and replace
- Improves stability and control
- Available in official and third-party options
Propellers Cons:
- Can break easily upon impact
- Some third-party propellers may not fit properly
- Need to replace all four if one is damaged for balance
How to Replace Propellers:
- Identify the damaged propeller.
- Use a small screwdriver or pull off snap-fit propellers.
- Align the new propeller (CW or CCW direction).
- Secure it by pressing it in or using screws.
- Test the drone before flying.
2. Battery Pack – Reliable Power Replacement

No battery, no flight. A fresh Sky Viper replacement battery restores full power and longer flying sessions.
Battery Specifications:
- Type: Lithium Polymer (LiPo)
- Voltage: 3.7V
- Capacity: 650mAh – 1200mAh
- Flight Time: 5-10 minutes per charge
Pros:
- Provides extended flight time
- Easy to swap out for continuous use
- Available in various capacities for different models
- Rechargeable with USB charging cables
Cons:
- Short battery life per charge (5-10 minutes)
- Degrades over time, reducing efficiency
- Some third-party batteries may overheat
How to Replace a Battery:
- Power off the drone completely.
- Open the battery compartment.
- Disconnect the old battery.
- Connect the new battery properly.
- Close the compartment and test.
3. Motors – Smooth Operation with Replacement Drone Parts
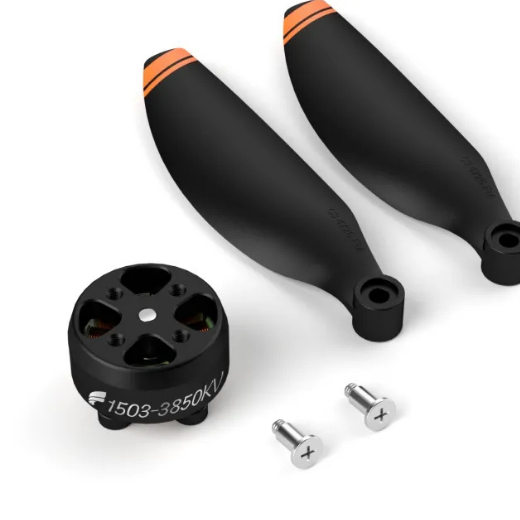
The motors are the heartbeat of your drone. With these Sky Viper replacement motors, you’ll regain speed and stability.
Motors Specifications:
- High RPM output
- Pre-soldered wires for easy installation
- Type: Coreless brushed motors
- Voltage: 3.7V
- Rotation: Available in clockwise and counterclockwise variants
Pros:
- Enhances drone power and speed
- Can be replaced individually
- Improves flight stability
Cons:
- Requires soldering for installation
- Brushed motors wear out faster
- Overheating may occur with prolonged use
How to Replace Motors:
- Open the drone shell using a screwdriver.
- Identify the faulty motor.
- Disconnect the wires.
- Install the new motor (matching CW/CCW type).
- Secure the wires and close the shell.
- Test the drone before flight.
Where to Buy:
- Amazon
- eBay
- AliExpress
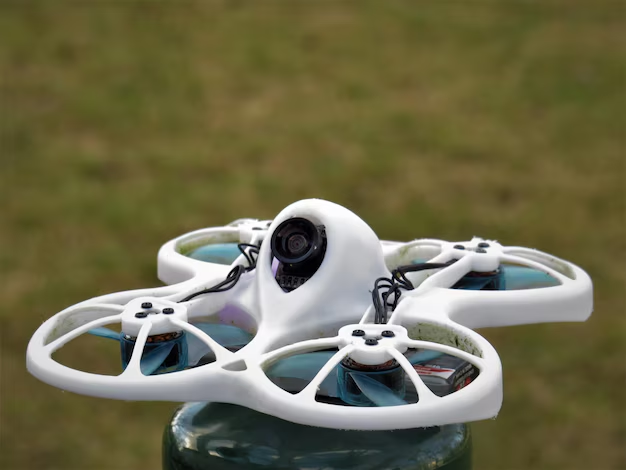
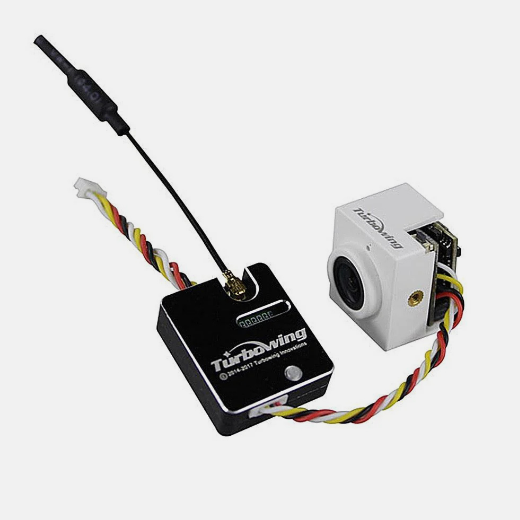
4. Camera Module – Upgrade Your Drone Footage
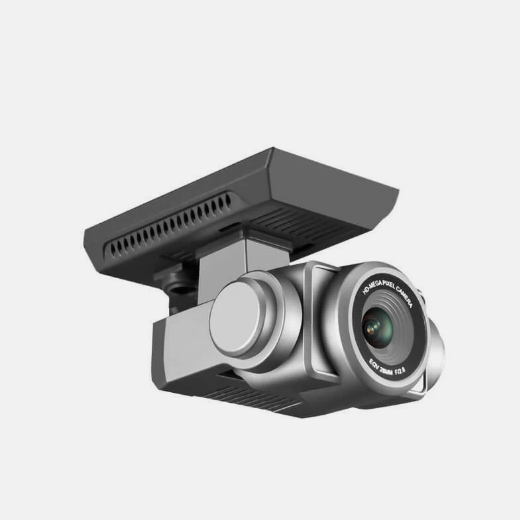
What’s a drone without a working camera? The Sky Viper replacement camera module brings back HD shots and smooth video capture.
Camera Module Specifications:
- Adjustable viewing angle
- Plug-and-play setup
- Resolution: 720p HD / 1080p
- Lens Type: Wide-angle
- Connectivity: Wi-Fi-enabled
Pros:
- Captures high-quality aerial footage
- Supports FPV (First-Person View)
- Simple plug-and-play installation
Cons:
- Limited resolution compared to advanced drones
- Wi-Fi connectivity may lag
- It can be expensive to replace
How to Replace Camera Module:
- Open the camera compartment.
- Disconnect the old camera module.
- Attach the new module securely.
- Reconnect the wires properly.
- Close the compartment and test.
5. Flight Controller Board – The Brain of Every Drone
The flight controller is the brain of your Sky Viper drone. Replacing it restores balance, precision, and full control.
Flight Controller Board Specifications:
- Built-in gyro stabilization
- Compatible with multiple models
- Microchip-based advanced system
- Features: Gyro stabilization, Wi-Fi
- Firmware Updates: USB connectivity
Pros:
- Controls all drone movements
- Can be upgraded with firmware updates
- Essential for drone repairs
Cons:
- Requires professional installation
- Expensive replacement
- Compatibility issues
How to Replace Flight Controller Board:
- Open the drone shell.
- Carefully remove the old flight controller board.
- Attach the new board and reconnect all wires.
- Close the shell and calibrate the drone.
6. Landing Gear– Protective Drone Parts for Safe Landings
Landing gear protects your drone from damage. With the new Sky Viper replacement landing gear, every touchdown is safe.
Landing Gear Specifications:
- Shock-absorbing material
- Durable ABS plastic build
- Easy screw-on design
- Material: Lightweight plastic
- Function: Protects the drone during landing
Pros:
- Protects the drone from impact
- Easy to install
- Available in multiple colors
Cons:
- Can snap under heavy impact
- Some replacements may not fit properly
How to Replace Landing Gear:
- Remove the old landing gear by unscrewing or unclipping.
- Attach the new landing gear securely.
- Test the drone by simulating landings.
7. Transmitter (Controller) – Regain Full Control
Without a working controller, your Sky Viper is just a toy on the ground. This replacement transmitter brings back full control.
Transmitter Specifications:
- 2.4GHz frequency range
- 100–200m range coverage
- Ergonomic design
- Frequency: 2.4GHz
- Range: Up to 200 feet
- Battery: Requires AA batteries
Pros:
- Provides precise drone control
- Works with multiple Sky Viper models
- Features calibration settings for better performance
Cons:
- AA batteries not included
- Some controllers may not be compatible with older drones
How to Replace Transmitter:
- Remove batteries from the old controller.
- Purchase a compatible replacement controller.
- Sync the new controller with the drone.
- Test the drone to ensure it functions properly.
8. Charging Cable – Small but Vital Replacement Accessory
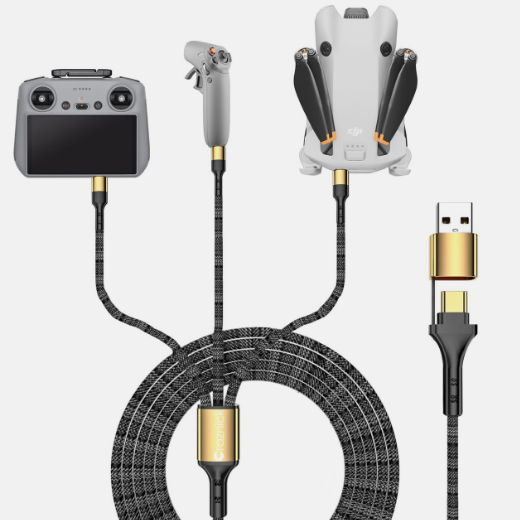
Lost or broken charger? A replacement charging cable keeps your Sky Viper powered and ready.
Charging Cable Specifications:
- USB charging support
- Voltage: 5V
- Compact design
- Input: USB-A
- Output: Micro-USB or proprietary connector
Pros:
- Allows convenient charging via USB
- Available in various lengths
- Affordable replacement option
Cons:
- Some cables may not support fast charging
- Short cables can be inconvenient
How to Replace Charging Cable :
- Disconnect the old cable from the charger.
- Plug the new cable into a USB adapter.
- Connect it to the drone’s charging port.
- Test charging functionality.
9. LED Lights – Stylish Drone Accessories for Visibility
LED lights don’t just look cool — they keep your drone visible in dark skies.
LED Lights Specifications:
- Multiple light colors
- Low energy use
- Long-lasting bulbs
- Type: LED strip or single LED bulbs
- Function: Enhances visibility for night flying
Pros:
- Improves visibility in low light
- Easy to install and replace
- Enhances drone aesthetics
Cons:
- Can drain the battery quickly
- Some LED strips may not fit all models
How to Replace LED Lights:
- Open the drone shell if necessary.
- Disconnect old LED lights.
- Attach new LEDs and secure them.
- Test before closing the shell.
10. GPS Module – Smarter Navigation & Return-to-Home
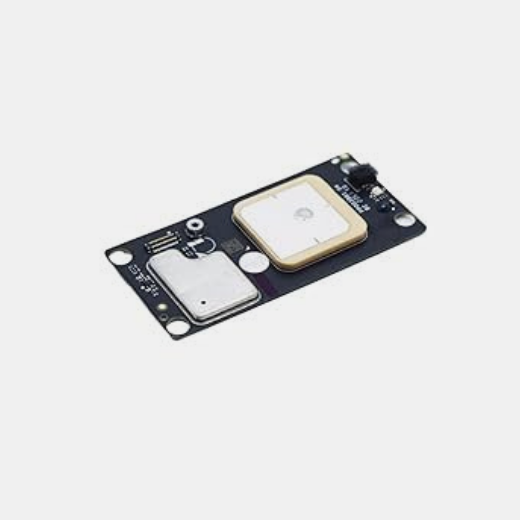
Want accurate navigation? The Sky Viper replacement GPS module keeps your drone on track with smart positioning.
GPS Module Specifications:
- Built-in GPS chip
- Real-time tracking
- Quick satellite lock
- Function: Improves drone navigation and return-to-home function
Pros:
- Enhances flight stability
- Enables GPS-based return-to-home feature
- Reduces the risk of losing the drone
Cons:
- Not all Sky Viper models support GPS
- Expensive to replace
How to Replace the GPS Module:
- Open the drone shell.
- Locate the GPS module and disconnect it.
- Attach the new module and secure the wiring.
- Close the shell and test.
11. Frame and Body Shell – Durable Drone Replacement Parts
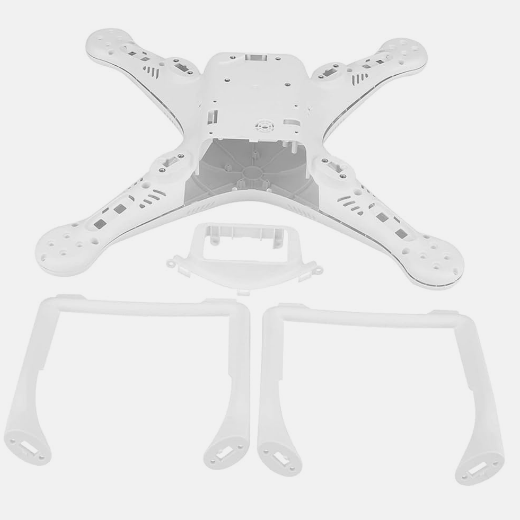
If your drone’s body is cracked, this replacement frame restores durability and design.
Frame and Body Shell Specifications:
- High-grade ABS plastic
- Lightweight and durable
- Custom-fit for models
- Material: ABS plastic
- Function: Protects internal components from damage
Pros:
- Durable and lightweight
- Available in different colors
- Provides structural support
Cons:
- Can crack upon hard impact
- Replacing the entire shell can be time-consuming
How to Replace Frame and Body Shell:
- Remove all screws holding the shell together.
- Carefully separate the frame from the drone’s internal components.
- Transfer components to the new shell.
- Secure everything and test.
12. Antenna– Strong Signal with Replacement Parts
Without a strong antenna, your Sky Viper loses connection. A replacement antenna restores stable control.
Antenna Specifications:
- 2.4GHz frequency support
- Flexible wire design
- Long-range stability
- Function: Enhances signal strength for controller connection
Antenna Pros:
- Improves drone range
- Reduces signal loss
Cons:
- Requires opening the drone to replace
- Fragile if bent
How to Replace Antenna:
- Open the drone’s shell.
- Disconnect the old antenna.
- Attach the new antenna securely.
- Test the connection before reassembling.
13. Drone Arm Brackets – Keep Your Drone Frame Strong
Broken arm brackets? Replace them to restore flight balance and safety.
Drone Arm Brackets Specifications:
- ABS plastic/carbon fiber
- Model-specific fitting
- Screw-mount system
- Function: Provides structural support to drone arms
Drone Arm Brackets Pros:
- Strengthens the drone frame
- Prevents arm breakage
Drone Arm Brackets Cons:
- Hard to replace without dismantling the drone
How to Replace Drone Arm Brackets :
- 1Remove the broken arm bracket.
- Attach the new bracket securely.
- Reassemble the drone’s frame.
Conclusion
Maintaining your Sky Viper camera drone requires replacing worn-out or damaged parts to ensure consistent performance and longevity. By choosing the right components and following proper installation procedures, you can keep your drone flying smoothly. Whether upgrading the camera, replacing propellers, or swapping out the battery, these replacement parts allow you to customize and optimize your drone experience. With numerous purchasing options available, finding the right parts is easy, making repairs and upgrades convenient and efficient.
If your camera stops working, you can also check our step-by-step guide on How to Repair Drone Camera for quick fixes before replacing parts.